100 day projects & halftone dots 🌈
There’s a tiny dusting of snow on the ground in Seattle. I’m drinking tea out of my favorite mug, listening to the radiators hiss, smelling the hyacinth I bought at the grocery for us for Valentine’s day.
This winter, Adam and I (Amelia) are both doing a 100 day project. “The idea is simple: choose a creative project, do it every day for 100 days, and share your process online.” He’s making maps, I’m working on sewing projects — and sharing on instagram, at @anemone.es and @tomato.garlic respectively.
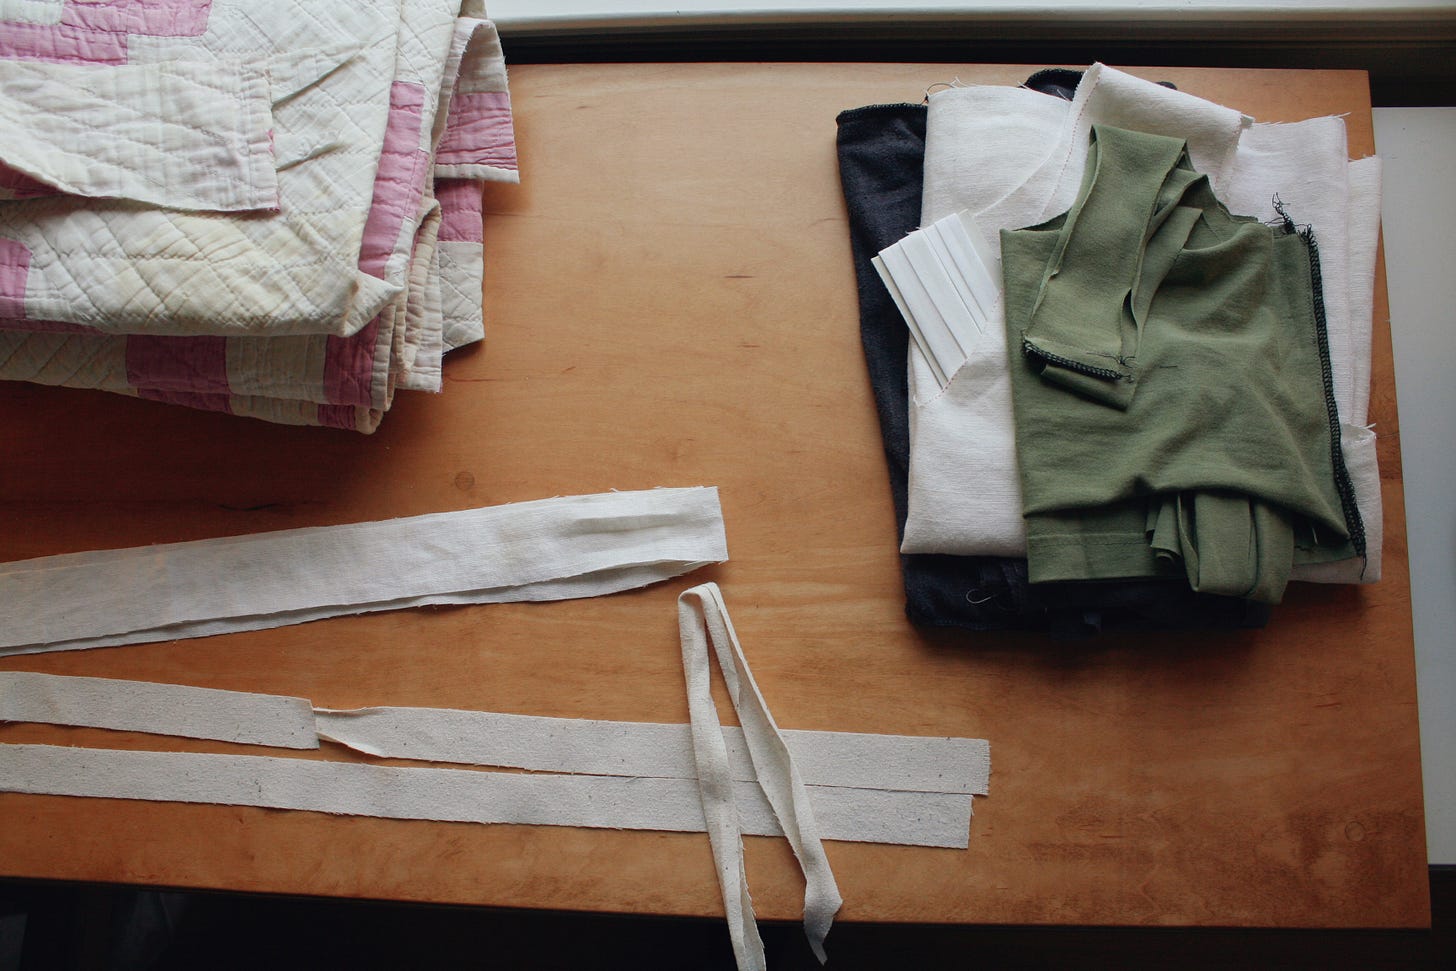
In the first twelve days, I’ve made a v top of white linen, and spent many days slowly sewing myself a quilt coat using the All Well Cardigan Coat pattern. I’m combining a couple hacks from the Hacking Guide: Simple collar! cut the sleeves separately! hanging loop! I also made a tiny navy and white gingham drawstring bag (for spare masks, to keep from getting gritty in my bike panniers) and a very wonky "eye pillow” filled with the last of the dried lavender from my friend Adrienne’s p-patch.
Knowing I’ll be doing something EVERY DAY, and just 5 or 10 minutes is enough, is shifting a lot of ~~~feelings~~~ for me. The enforced lack of inertia is bringing a new playfulness to sewing, a “why not” feeling that’s leading to finishing. There’s a decided feeling of weight being lifted away, as I’m moving through a some of the ideas that had been in my head a while (months, years!). Ideas that had grown to feel a bit heavy, rather than good, as they piled up, un-acted-upon, along with many other ideas, crowding for space.
Small daily progress is permission to be a bit silly and decadent and playful, which has been very hard to find in the midst of sadness and grief and anger about so much: the botched pandemic response and so much suffering, the fundamental brokenness and cruelty of the Republican Party, the climate crisis, missing friends and family, everything. So we’ll see. I sewed a weird little pouch out of quilt scraps last night, impromptu, even after I’d already finished my project for the day. Today I’m going to add pockets to the coat, and then it will be done in time to wear for Valentine’s dinner. (We’re making raviolis and lemon tarts together at home.)
Are you risograph printing people, looking for an update on the ANEMONE Spectrolite app?
We made a new version (0.9.2) this week, with HALFTONES!
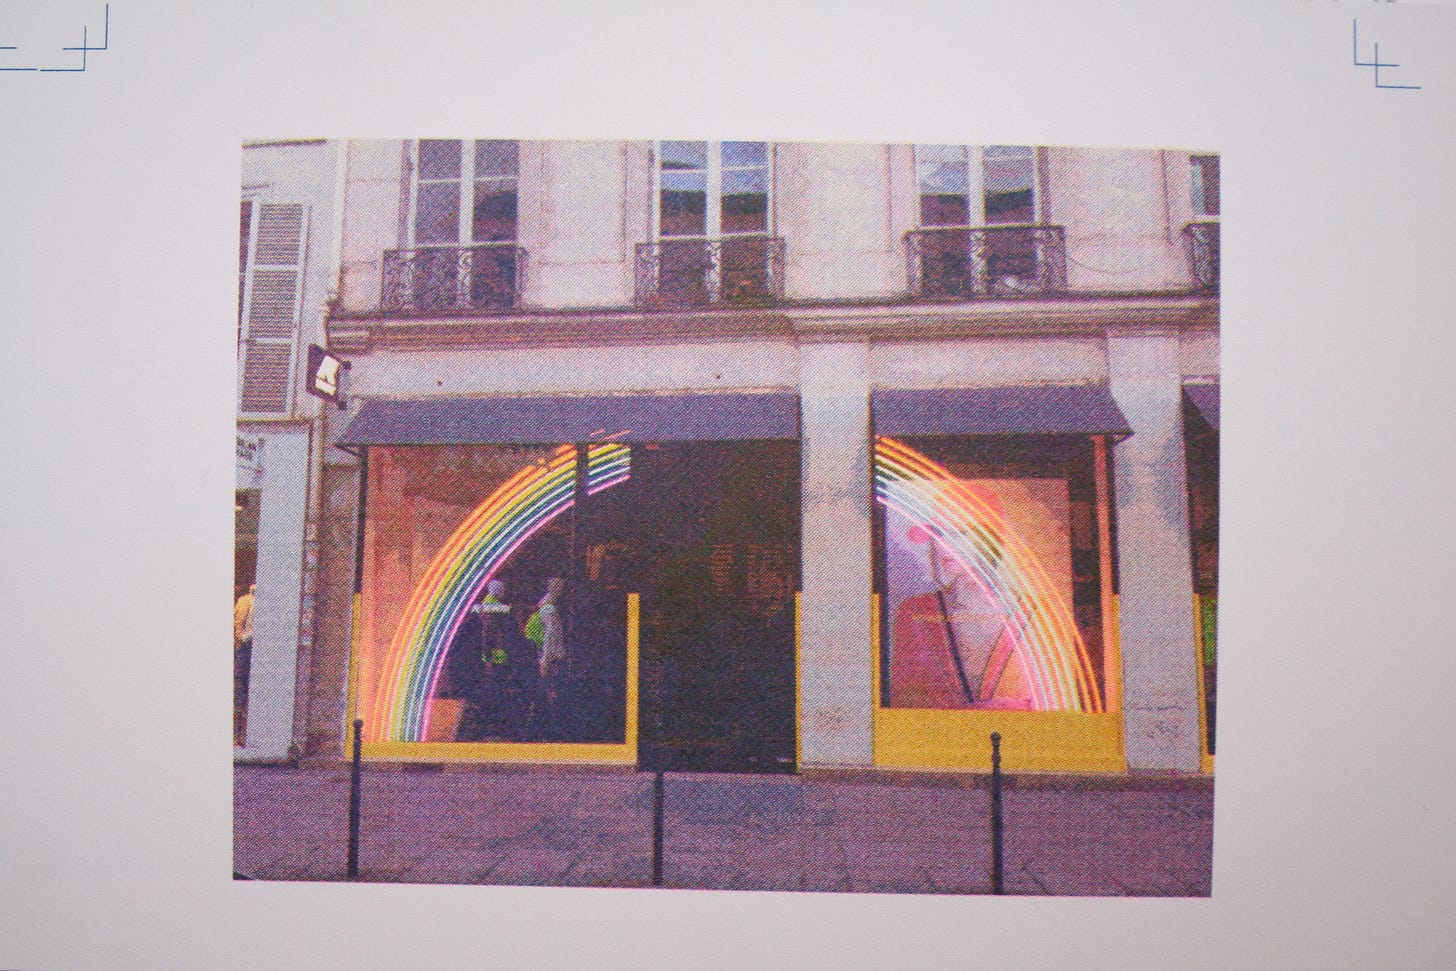
Halftones are what you see in newspapers and magazines, little tiny dots to layer and overlap ink colors together. Our friend Travis Shaffer does a risograph variation this process to great effect with There There Now. And he’s been helping us with figuring all this out!
So! If you print on the riso driver for Windows, you can set the angle and lines per inch for each color layer — but the Mac driver doesn’t have those options. If you want multi-color halftones, you either need to set up Parallels and run Windows from your Mac, or else pre-bitmap each image into halftoned, color separated layers using Photoshop and THEN print them on photo grain-touch.
The steps to do that in Photoshop are, roughly:
Separate your image into channels, by converting it to CMYK (Edit > Convert to Profile > Custom CMYK), or using an ICC profile to convert to spot colors.
Split the resulting multi-channel image into individual greyscale/bitmapped images. (From the channels panel.)
On each new image (per color layer you’ll print on riso), go to the top menu and select Image Mode > Bitmap > Halftone Screen and then go to Advanced, select the dropdown for shape (round, diamond, ellipse, line…) and enter the frequency (ie, 75 lines per inch) and the line angle for that color. For CMYK, recommendations are often C-15°, M - 75°, Y-0° (or don’t use this technique at all, and use FM screening for yellow), K-45° — or there are LOTS of options.
Save each halftoned layer to put in your print file for the riso.
If you want a preview of how the halftoned image will look, make a new photoshop document and copy and paste in each halftoned layer.
For each layer, set blend mode to multiply.
Then create layers that will overlay each riso spot color (make a new layer, fill it with the riso color, hold down alt and click to apply it to the layer below, set it as blending mode screen…).
Then you see how your image will look, and have the halftoned images for each color layer in black and white bitmap to use for printing.
Or something along those lines — you can do it a lot of ways — the point is, it’s a loooooot of clicking!
So we made Spectrolite do all that with one button press.
And if you want to change from the defaults, little animations to show how the line angles and frequency settings interact. (On the right side in the inspector! The little dots change size and rotate as you change the angle and frequency! So cute!!)
Plus, you can zoom in to compare the original to the RISO-fied image, and click the colors to turn on and off ink layers to see how they combine.
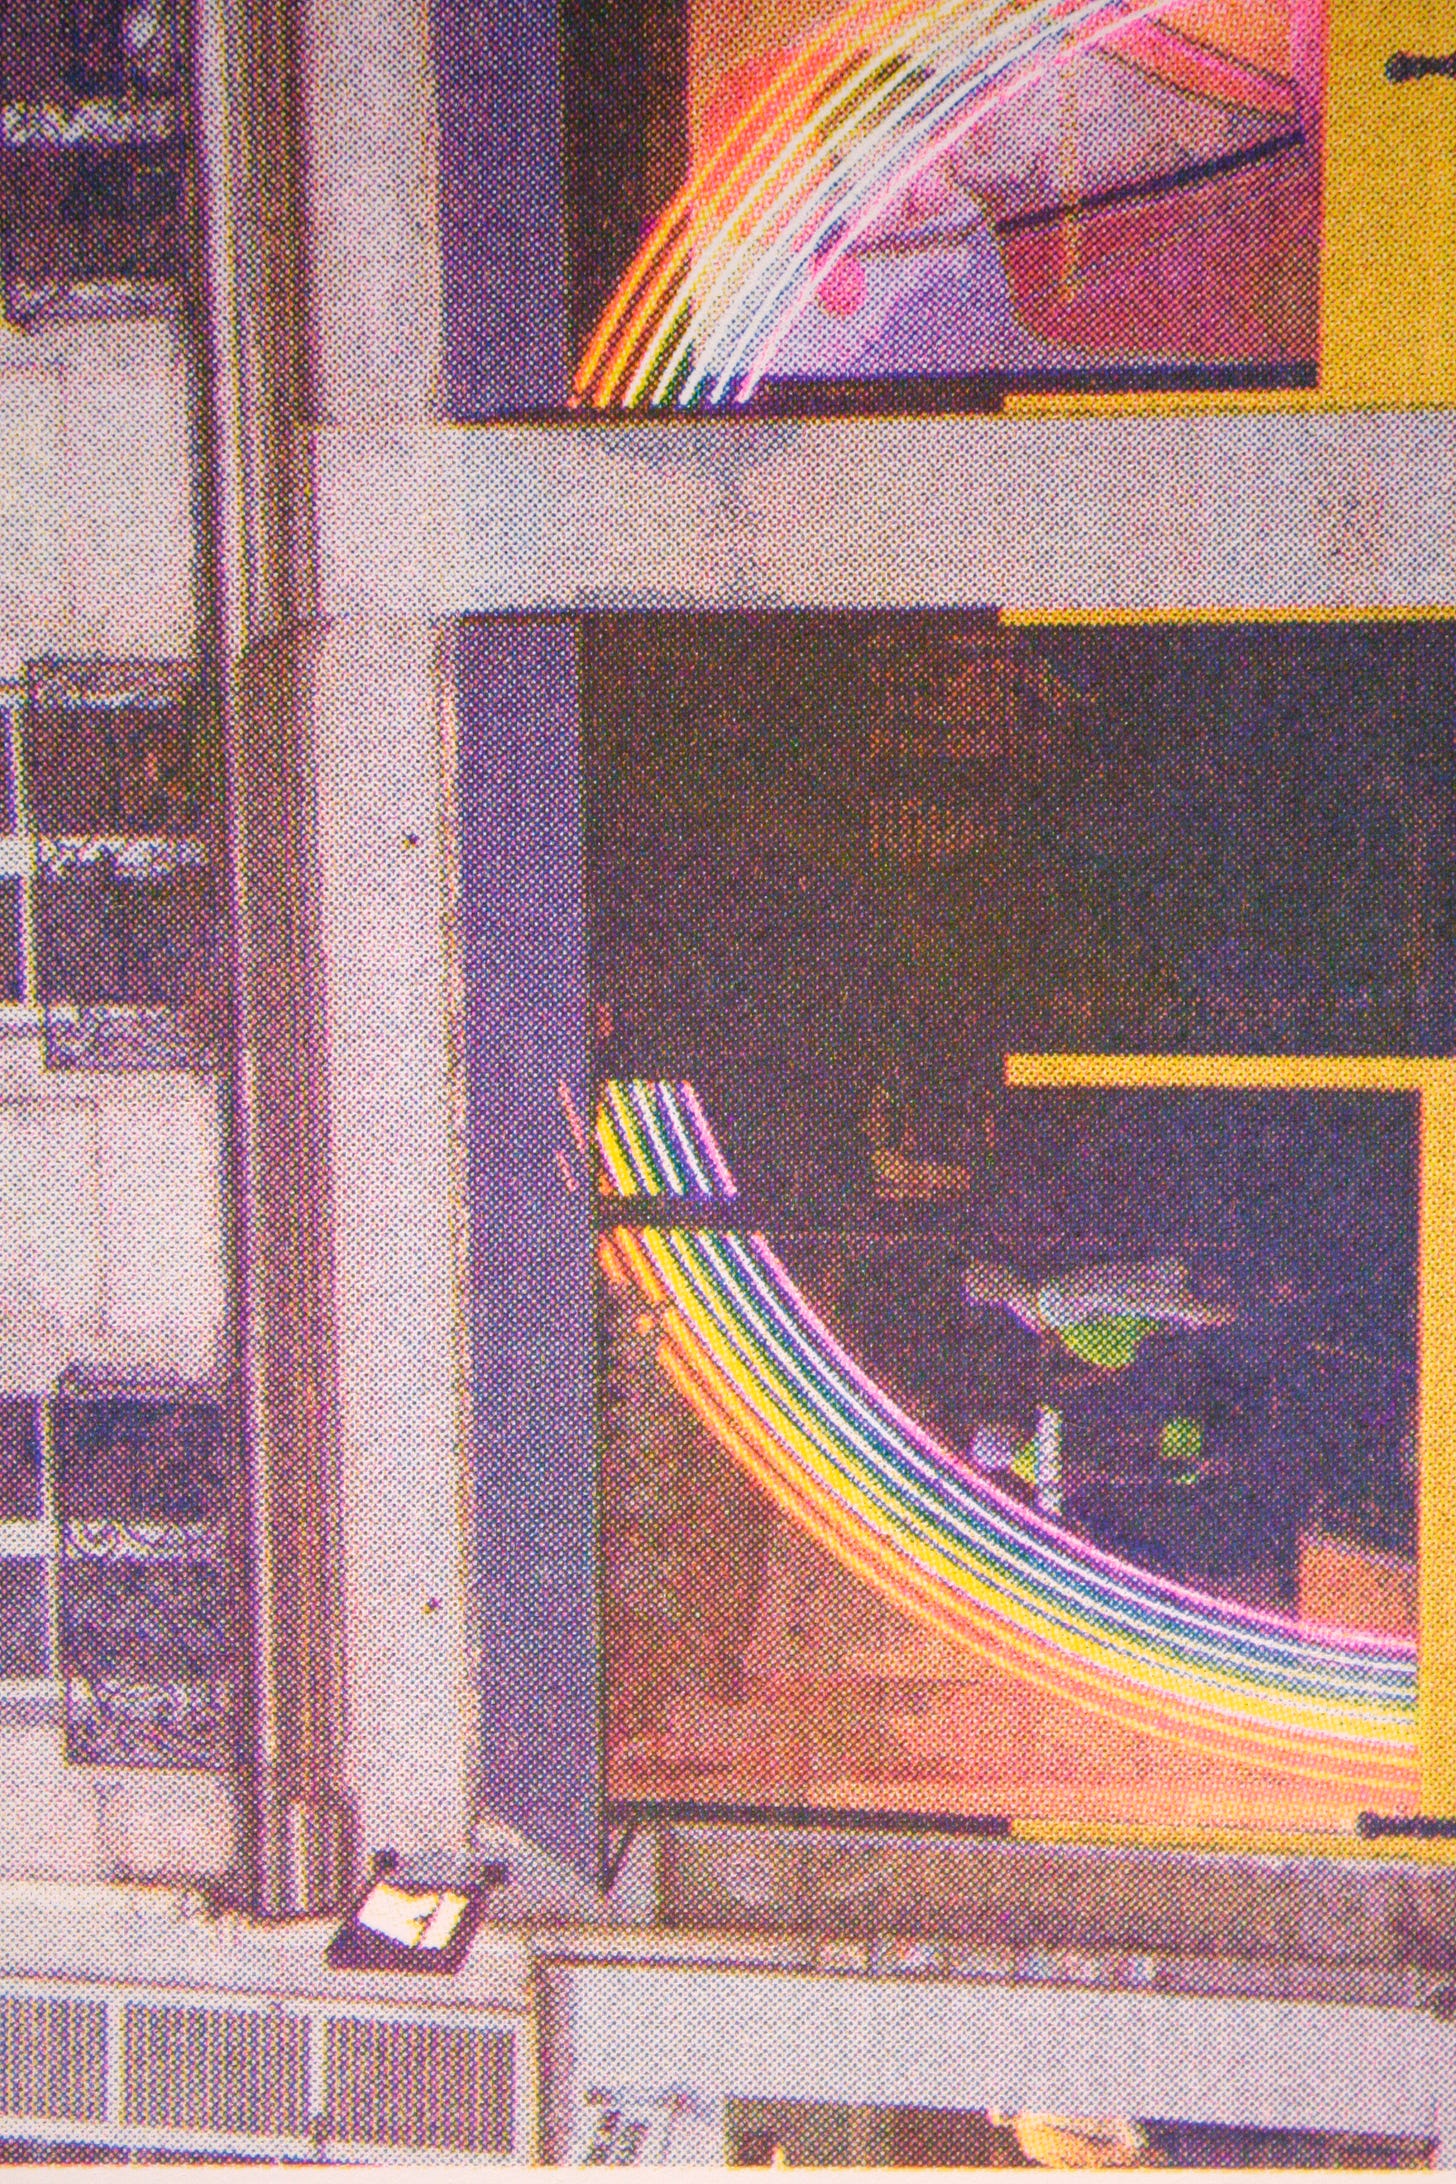
This is a zoomed in crop of what the pink layer of the exported files looks like. (Printed on photo grain-touch from the Mac Riso driver to create the print in the photos.)
{{ SIDE NOTE — figuring out the math behind the code for this was WILD!! We ended up reading computer science papers and combining a bunch of image processing techniques!! A story for another day! }}
Halftones are still in the early stages and has plenty that can be improved (like the rest of Spectrolite!) but we’ve released it now that it works well enough to print with!
You can try it out & make colorful 🌈 riso prints with halftones like this! (Print nerd details here.)
Ok, that’s it for now. Hope you are staying warm.
— Amelia (& Adam)
PS — Here’s a link to the v rough draft of the “how to riso print a zine with Spectrolite!” zine, in the works over at google docs. More on that in a bit!


